DESCRIPTION
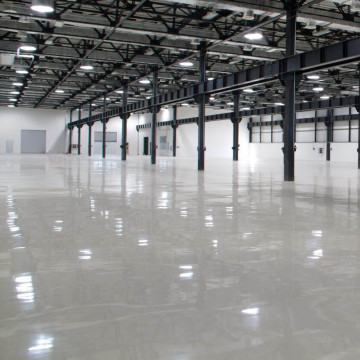
Resincoat Epoxy Line Marking Paint is primarily used for line marking in warehouses and factories, for clear and long lasting demarcation. This coating can also be used as robust protection in areas requiring chemical resistance, combined with abrasion resistance such as wash boxes, process tanks, silos etc. Due to its high chemical resistance, this epoxy line marking paint is also suitable for lining chemical spillage areas and can be applied vertically onto bund.
COVERAGE RATES
If you are coating a large area and would like expert advice, please call our team who will be happy to assist you. A 2.5kg unit will yield up to:
50m lines at 10cm width / 0.5mm thickness
OR
100m lines at 10cm width / 0.25 thickness
APPLICATION GUIDE
Preparation
We would recommend removing traces of existing lines before applying this paint, especially if it is flaky, as this will negatively impact adhesion of the paint to the surface. Any cracks, damage or defects in the concrete should be made good using repair compounds. Once dried, it will be necessary to clean and then lightly abrade the existing lines and apply Resincoat Epoxy Line Marking Paint directly over the top. Ensure that the concrete is clean and free from dust, laitance, oil etc. A wire brush is generally sufficient to lift and clear debris. The loose debris and material must be vacuumed away after brushing or sanding.
Application
We advise when applying this product the ambient temperature is at least 7°C.
1. Apply masking tape to mark off the area you would like to cover
2. Mix Part A on its own with a mixing paddle attached to an electric drill for about 2 minutes before adding ALL of Part B and continue to mix for another 90 seconds, keeping the paddle in suspension to avoid mixing air into the unit.
3. Pour entirety of the tin's contents into a plastic paint scuttle or tray.
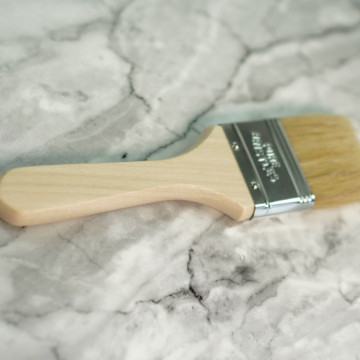
4. Immediately begin applying your paint with a nylon-bonded resin suitable roller.
5. As soon as the first coat has started curing (is no longer tacky to touch) you can re-coat; this should take 16-24 hours.
6. The cured final coat is ok for foot traffic. Cars and heavy objects, however, should be left off the new coating for the first 72 hours and chemicals including water should not be introduced for the first 7 days (Full chemical cure).
PLEASE NOTE: The pot life of this product is 20 minutes. This means that once parts have been mixed, the paint will start to chemically cure after this time. Ensure you remove the paint from the tin in this window. The paint will then be workable on your floor for up to 40 minutes.
Pot life = Time to harden in pot following addition of hardener
Working Time = Time to apply product before it becomes unworkable
USEFUL INFORMATION
• Roller sleeves should be used once per coat, two coats will require two roller sleeves.
• This product should NOT be split. Taking smaller quantities from each tin, even if measured correctly, may cause issues with activating.
• This product is NOT self levelling.